Sri Lanka Travel Essentials: A Step by Step Preparation Guide to Visas, Packing and More
Sri Lanka is one of the most untouched gems in the world right now, with all its cultural and coastal offerings still largely glossed over by the more popular South-East Asian countries. Whether it be stunning beaches or the mountainous landscapes, it truly has a spot for everyone. And arguably, it does a lot of activities like surfing and hiking much better than some of the more popular destinations that are now overcrowded by tourists.
But while there are positives to planning a trip to underrated countries, there are inevitably fewer travellers who have been there to tell the tale of the important preparation steps to take to ensure that any travels there go without a hitch.
I certainly have looked this up a few times when tossing the idea of visiting Sri Lanka solo. And while I am a confident solo traveller with experience in places others might not be so comfortable in, the information out there at the time wasn’t cohesive enough to give me that certainty. It didn’t appear seamless to organise, and I would have loved a step by step guide like this to know that sorting things out in this part of the world is not so scary, when you have a good list to follow.
I ultimately travelled here with my partner Pat after planning our two week Sri Lankan trip together. We enjoyed ourselves thoroughly, and throughout the planning and travelling process, we have learnt so much from what we did really well, to what we wish we could have prepared more for.
In this guide, I will give you a chronological rundown of what to prepare ahead of your trip to Sri Lanka. The step by step layout of these Sri Lanka travel essentials allows you to make sure you’ve done it correctly leading up to your trip (and not just a few weeks before), letting you know how much it will roughly cost, and includes any other juicy details that will give you have absolute confidence before even starting your travels.
Table of Contents
Sri Lanka Preparation Timeline: At A Glance
|
Category |
When |
Cost (AUD) |
|---|---|---|
|
Flights |
3-4 Months Before Departure |
Varies, dependent on your departing country. |
|
Travel Insurance |
6-8 Weeks Before Departure |
Varies, depend on your home country and duration of travel. |
|
Vaccinations |
6-8 Weeks Before Departure |
Varies, dependent on location and choice of vaccinations. |
|
Transport Options |
4 Weeks Before Departure |
$70-$80/day for private car with driver |
|
Visa/ETA (Electronic Travel Authorisation) |
3 Weeks Before Departure |
$0-$50USD, check if your country (40 in total) is under the fee waiver. |
|
Currency |
2 Weeks Before Departure |
$200 per day of travelling. |
|
Packing |
1 Week Before Departure |
N/A |
|
Sim Card |
At Arrival |
$10 for 25GB (local sim) |
For a more complete cost breakdown and full details of how much travelling in Sri Lanka would cost, see my Sri Lanka budgeting post reflecting real numbers from our two week self planned itinerary.
3-4 Months Before Departure: Lock in flights and your route
This step is the first, and arguably most exciting! Nothing like the feeling of clicking ‘book’ on that flight to get the ball rolling.
If you have read my budget post, you will know that for a two week trip or anything less, it is likely that your flight cost will make up a good portion of your final spend. Of course this depends on where you are flying from and the routes available (we had to go all the way from Melbourne, that’s an 11 hour flight), but stacked up against the comparatively affordable accommodation and food options, it is the likely case for a lot of people.
What this means is that locking in your flights early is not only important for getting a good flight time, but a cost effective bonus too.
The Essentials:
- Explore your flight route options, and decide if you are flying direct.
As with all flight routes, there will be options that are often much cheaper to transfer while it is universally more expensive flying direct. While these will be cheaper, don’t underestimate how much energy and travel time that will add to your journey, and assess early so you get a good spread of all options. We would not recommend doing anything more than 1-2 layovers.- Book 3-4 months out.
This is what I personally deem the ‘sweet spot’ for flight booking, where the prices are generally the lowest considering they do not drop when it’s not too far out, yet not so close that you are paying last minute prices.- Purchasing flights return will give you less flexibility, but is more cost effective.
If you already know your dates, and will be flying back to where you departed rather than moving forward to a new country, return flights are generally cheaper than purchasing one way tickets.- Take advantage of a sale window.
These could range from random pop up sales, all the way to predicable windows like Black Friday or Christmas sales. We bought our flights on Black Friday, and found that we could fly direct at the sale price, which saved us a lot of time and hassle with our journey. I would recommend signing up to airline newsletters or follow flight saving Instagram/Tiktok accounts to be notified of these.
6-8 Weeks Before Departure: Safety first with travel insurance and vaccinations
Travel Insurance
There is an age old saying when it comes to travel insurance: If you cannot afford to protect your travels, you shouldn’t be travelling at all.
Wherever your travels may take you, having travel insurance is non-negotiable. These are to protect you from unexpected events, from missing flights and accommodation, luggage loss or theft, all the way to severe medical care while you’re away.
Particularly in this part of the world with activities like surfing, remote hiking and safaris, injuries and unexpected events are common and cannot always be avoided. To make sure you have peace of mind that you’re kept safe during any travel event, make sure you purchase travel insurance before your trip starts.
Vaccinations
Regardless of your vaccination and immunisation history, now is the time to evaluate if there are anything additional that you need prior to travelling to Sri Lanka. If you have been travelling for a while, there may be some vaccinations that you might already have, but it is good to book an appointment with your GP to ensure these don’t need to be topped up.
Why I recommend doing it all this far ahead? Because as I learnt the hard way, some vaccines take a few weeks to offer any sort of protection.
The common recommendations for Sri Lanka include Typhoid and Hepatitis A/B, with Japanese Encephalitis and Rabies also being popular ones for those who are in more remote locations within the country.
Do note that a Yellow Fever vaccination certificate is an entry requirement if you are arriving from, or have transited for more than 12 hours through, any country with a risk of yellow fever transmission. This list can be found here: https://slhcindia.org/index.php?option=com_content&view=article&id=566:requirement-of-yellow-fever-vaccination
The Essentials:
- One thing that a lot of travellers do not know is that you must purchase travel insurance before you leave your home country. There are a few insurers who will cover you once you are already somewhere, but this is not the standard way coverage works.
- Be very careful when it comes to choosing your insurance plan, because coverage works differently for all companies. Some will cover some things better than others, so always look at their policies. The ones that I find most important are cancellation policies if something happens so that you miss your flight, baggage loss policies to protect your lost belongings, and medical policies to cover injuries.
- If you know you are going to participate in some higher risk activities (ie surfing or hiking in high altitudes which you may consider for Sri Lanka specifically), then check that the policy covers these. Sometimes these are excluded unless you upgrade your plan, and you don’t want to get caught out by this.
- Some vaccinations can take up to 4 weeks to kick into the system – so do not leave these too late! Always consult with a doctor, the earlier the better.
4 Weeks Before Departure: Research transport options
As you would see with almost any Sri Lanka itinerary, there are many ways to travel Sri Lanka. Chances are, you will do a mix to balance budget, comfort, and timing. It is important to at least get an idea around the options you have, as some modes will take forward planning.
Private Drivers
Private drivers are usually organised in advance, and considered relatively affordable for the amount of distance and time they are with you. They can also provide local knowledge and guidance along the route you are taking to deepen that cultural experience.
Organising this needs to be done beforehand so you can discuss your itinerary, pickup points, timings etc. and agree on a fixed price. Most of this is done through word of mouth recommendation of drivers and negotiating on WhatsApp.
If you need to organise a simple airport transfer, this is a good time to get that sorted too.
Trains
Trains are iconic in Sri Lanka, and truly not to be missed. The sweep through the most picturesque parts of the country to provide a scenic way of travelling. And chances are, you would have seen the unmissable Kandy-Ella train that weaves through the whimsy mountain regions and tea plantations around Ella.
Train tickets are very cheap, and well timed in most cases to fit into any itinerary. Most can be bought at the train station as we did when we travelled from Galle to Colombo on the south coast, but we would recommend taking this time to look into that Kandy-Ella train simply because it is so popular. Do your research not just to reserve the best times that fit into your schedule, but of the classes of tickets you can get to make sure you’re on a carriage that lets you have the experience you want.
Train tickets can be reserved in advance on the official train ticket website: https://seatreservation.railway.gov.lk/mtktwebslr/
*This is still partially closed as of Aug 2026 due to flood damage, please check the programme for disaster recovery and restoration status tracker here for updates on the status of the train: https://www.railway.gov.lk/web/index.php?option=com_content&view=article&id=917&Itemid=217&lang=en
Tuktuks
Tuktuks are a great and unique was of experiencing Sri Lanka, with such fun character and lovely open doors to really let you see the scenes between towns and catch a nice breeze in the midday heat.
You can either catch these in real time as a form of taxi, or reserve a tuktuk to drive yourself. The former does not require this much preparation, but driving around definitely does. You should not only reserve these in advance, but determine what the requirements are to be able to drive these legally. Most require an international driver’s license from your home country, and then to take a short course when you get to the rental for the basics of operating a tuktuk.
Of course, there are buses and taxis also that are easily accessible to those who want to use them, but do not require too much in advance.
The Essentials:
- Booking private vehicles for several days in a row means they can give you better rates, as these drivers will often go on your trip alongside you to stay in nearby hotels in order to meet their pick up and drop off times you would like.
- Be aware that trains have frequently been subject to delays, so leave enough margin in your itinerary so you don’t get stressed if the scheduling is slower than anticipated.
- For the famous Kandy-Ella train, be aware that while 1st class tickets come with air-conditioned carriages, it is the only class that does not have open train doors for that iconic moment that most people enjoy. Open carriages are only available for 2nd and 3rd class carriages.
- Tuktuks are ordered on an app called PickMe. However we have noted that it often runs into issues due to the Tuktuk mafia (yes, they are real) in certain zones that leads to no drivers picking you up. For those who want to completely avoid this issue, it may be worth exploring another mode of transport or hailing them in person.
3 Weeks Before Departure: Organise visas/ETA approvals
Sri Lanka does require an ETA (electronic travel authorization) from all foreign passport holders, which can be done online through the official website https://eta.gov.lk/slvisa/ before entering the country. I would recommend that this is done at this stage to avoid any issues.
The fee for this has recently changed as of 25 May 2026. Now 40 countries including those like Australia, Canada, France, New Zealand, UK and the US, can obtain a tourist visa free of charge, as long as the stay is less than 30 days. Even if you fall into this category of countries that have the fee waived, you still need to apply, so make sure this is completed.
We visited Sri Lanka about two months before this was brought in, therefore applied and paid for our ETAs (which were about $50USD each) around a month in advance before we left, to ensure the processing time had been accounted for. This meant we had no problems at the border – all we had to do was show the email confirmation that we had done this.
The Essentials:
- As with all visas and entry requirements, please ensure that you always do your due diligence in checking for the most up-to-date information on the official website before your travels. Visa processes, fees and processing times can change at any point without warning, so do this to ensure you have the correct documentation at all times.
- With any sort of pre-approved visa or ETA, it is a good idea to hold a printed copy on you to show border security, in case the system has not been updated with your information.
2 Weeks Before Departure: Get cash and currency ready
Sri Lanka uses its own local currency, called a ‘rupee’ and symbolised by LKR. This is a rather uncommon currency, and the country is very dependent on cash in various parts of the country, so you don’t want to get caught out on your trip without any on hand.
There are two things you should do to make sure you are all set on the financial front. Firstly, it is to go to a currency exchange in your local country and get out at least your estimated first two days of spending in cash. This allows you to be prepared without the stress of hunting down an ATM as the first thing to do.
The second is to make sure you have a card form that allows payment. Some people love using their home credit cards, but I have always loved using Wise. This is because the fees are super transparent, the conversion rate is really competitive, and I have never had issues with getting cash from an ATM in any country when I need to take money out. The application process is fast, and the physical card gets sent to you in no longer than 14 working days for most locations.
Both steps might incur some waiting time, whether it be looking for an exchange that has LKR on hand, or waiting for the card to arrival for digital spending – so don’t procrastinate on this very important step!
The Essentials:
- Be aware of conversion rates – this is the rate at which someone will ask you for in one currency (your home one), in exchange for a certain amount of another currency (your destination one). Banks and exchanges near airports are notoriously bad for conversion rates, so make sure you have a Wise card or explored around for an alternative if this is a big concern for you.
- Ensure you check card ATM fees, because it is likely you will have to use the ATM multiple times in Sri Lanka to get money out (we used it about 8 times in total within our two week trip!). These can also add up if you are not careful.
- When taking out money in an ATM, it will always ask if you want to take out local currency or follow the ATM’s exchange rate. Always take it out local currency, because that way, even without LKR in your account, it will follow your home bank rates which are likely much less than at an ATM.
1 Week Before Departure: Packing for the trip
Funnily enough, this is a love or hate step for most people. Some love to have it all ready ahead of time, planning all the outfits to wear on the trip. Others do the last minute throw into the suitcase. Hey I won’t judge… probably because I’m lean more towards the latter type.
Either way, the one week to go mark, if not slightly before, is the definitely the time to have a think about what it is you need on the trip. This gives you time to order what you need, to head to the shops, and at the very least get you thinking about packing.
Packing is very personal, and depends on what you feel you need. So I thought it would be better to put together a list of items I found really valuable specifically when I went on my trip to Sri Lanka, rather than compiling a packing list based on my own tastes (which if you wanted to know, is basically neutral top and bottoms for minimal outfit repeating, my favourite camera, and absolutely zero hair tools).
- Olympus OMD-EM10 Mark III Travel Camera, for that travel photography.
- Osprey 65L Backpack, to carry luggage in a compact and convenient way.
- Portable Charger, to keep devices charged during long travel days.
- Sturdy Runners or Hiking Boots, for those adventurous days out like going on trails or safaris.
- Versatile Swimwear, for surfing or relaxing by the beach.
- Lightweight Towel, for those beach days out.
The Essentials:
- For Sri Lanka, I would recommend a backpack over a suitcase. These are easy to store on any form of transport, but have a particular advantage if you are taking public transport. Be aware that footpaths are not always paved, which adds to the difficulty of dragging a suitcase around.
- Packing the correct adapter is essential, and likely something you don’t have lying around. This is important to being able to charge your devices and cameras overseas whenever you need. The outlet we used were Type G in Sri Lanka and we never had an issue.
- Try to consider tops and bottoms which are versatile and interchangeable. This means things that pair well with others, and can serve many functions whether it be relaxing or something more suited to active activities. This will help reduce your packing weight much more, especially if you are carrying everything in a backpack.
At Arrival: Get your sim card, and go enjoy the trip!
You are so close, the end is in sight!
There is one last preparation thing to do, and I have left this on the last day not because of procrastination, but because there is a good advantage for doing so. And that is buying a sim card for your trip.
Having internet access is quite important in my opinion for all sorts of travel related things: Navigation, looking for points of interest, contacting people, uploading your pictures to social media… That’s the final must have.
For most destinations, including Sri Lanka, I have opted for getting a local sim-card that I can insert into my phone in place of my home one. This allows me to access local cheaper rates and more data. Pat and I both got one each at the airport just after baggage claim at Dialog. This was an easy process, the line was not long considering we arrived at a non-peak hour, and activated pretty much immediately.
While we recommend this to save some money, the con of this approach is that you are reliant on that going smoothly for connectivity. If you would rather have it sorted as soon as you land, I would recommend purchasing an eSim, which can be done through Airalo. I have used them before in Turkiye, and it allows anyone to get internet as soon as they land without having to change any sort of sim card. This convenience could be a great approach for those who don’t like the last minute task.
The Essentials:
- At the airport, we managed to buy a local sim with Dialog for around $10AUD (2400LKR) for 25GB to last us the trip. This was more than enough data for two weeks, and never ran into coverage issues despite us going to some remote places.
- If you are doing digital nomading work or require more data in general, there are plans like Holafly which are set up as unlimited data plans. These are generally much more expensive, so worth thinking about whether you need this setup.
And that’s really it: Now all that preparation has allowed you to well and truly enjoy your journey through one of the most stunning countries. I am so excited for you to experience it all!
To discover what we did, and find inspiration for your own trip, check out our two week self planned Sri Lanka travel itinerary that covers the best of the country.
Frequently Asked Questions (FAQs)
How many days should I travel Sri Lanka?
That is entirely dependent on how much of the country you want to see.
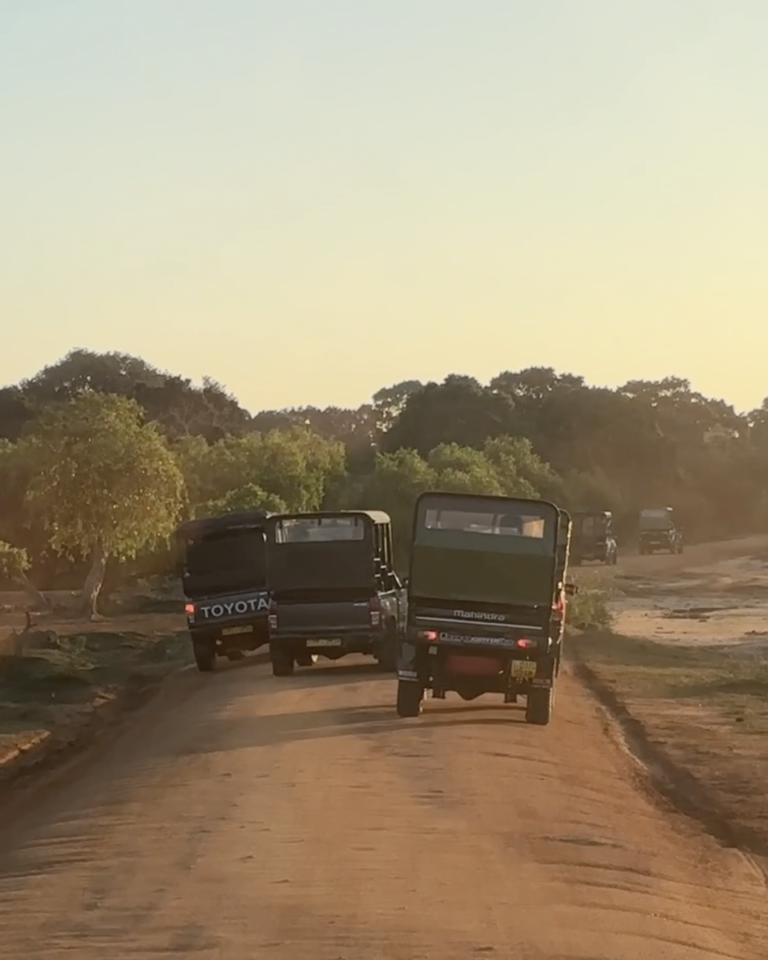
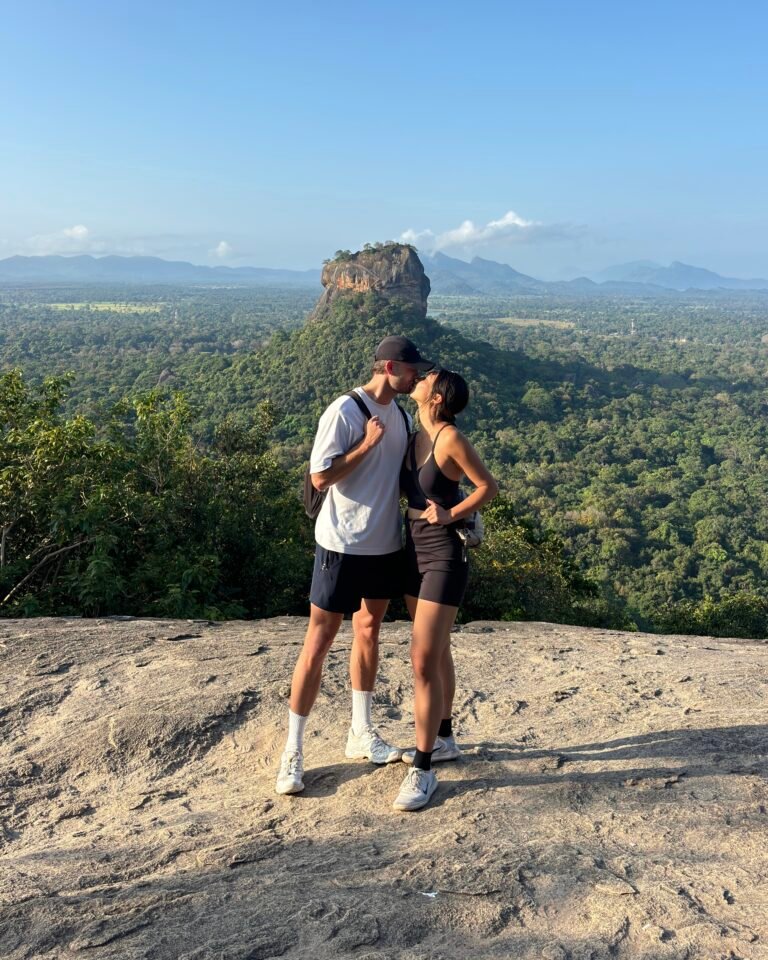
Our self planned two week itinerary gave us a full route from central regions down to the southern coast of Sri Lanka. This covered places like Sigiriya, Ella, Yala National Park, Hiriketiya and more, without feeling rushed. If you only have one week, pick a region and explore there so you don’t spend too much time travelling between towns.
When is the best time to visit Sri Lanka?
It depends on which coast you’re visiting, because the country has two monsoon patterns.
The southern part of the country is driest from roughly December to March, which also suits beginner surfing. The northern is the opposite, ideal from about May to September. However, November and April are good shoulder months for lower prices and fewer crowds for most of the regions.
How much does a Sri Lanka trip cost?
This varies depending on your personal spending habits and tier of travelling (ie budget, luxury etc), but we have done a comprehensive budget breakdown here for our two week trip to give you some guidance.
Overall when excluding flight costs as this depends on your outbound country, our mid-tier travel style came to approximately $200AUD a day when covering accommodation, food, activities, spending and other miscellaneous costs.
Is Sri Lanka suitable for solo travellers?
Absolutely – Sri Lanka is a safe and amazing place for solo travellers.
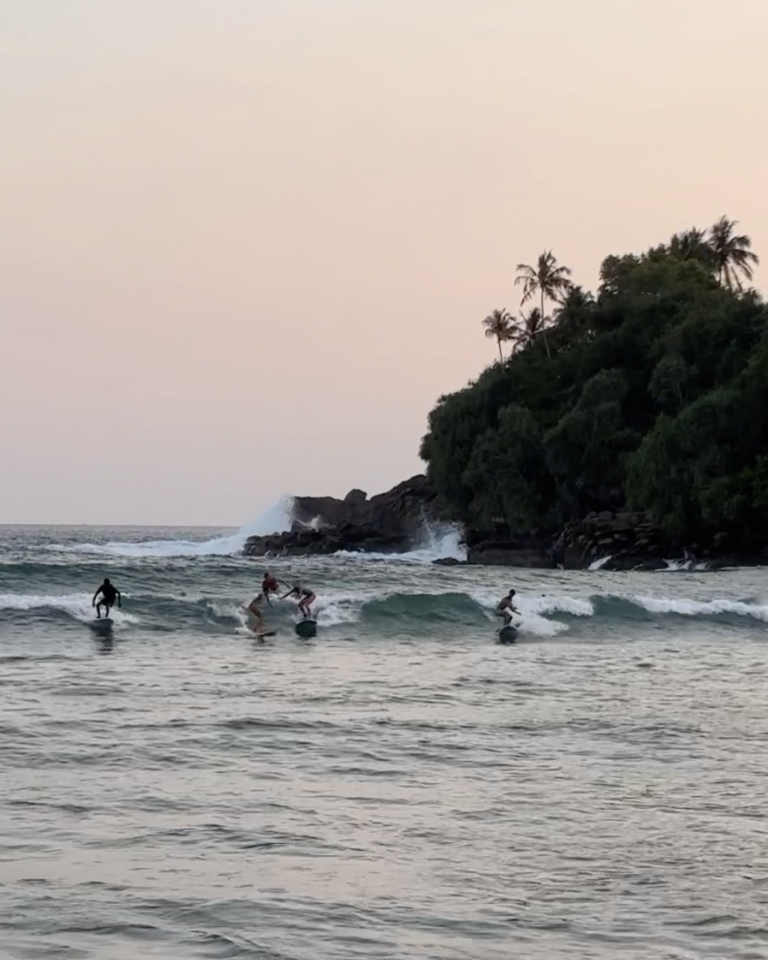
The social atmosphere and community is fairly strong, particularly along the coastal regions like Hiriketiya and Ahangama, or even in some inland towns like Ella. It is easy to find organised group activities like surf camps and fitness classes to stay connected, which is important for both safety and to minimise risks of feel lonely whilst travelling.
Should I book everything in advance?
Considering book the things that typically sell out or needs an early start.
For us, that included the surf camp and our accommodation because we were travelling at the end of peak season.
We recommend doing as much research as you can before you leave to ensure your trip is stress free, but also leave gaps in your days to sign up for local activities that peak your interest like cooking classes or yoga sessions. These typically do not need booking in advance more than a day or so out.
Final Thoughts: Are you ready for your Sri Lanka trip?
Travelling to Sri Lanka might sound like a daunting task, but as long as you’ve covered most of those steps, you’ll be all set for a great trip.
The country is filled with friendly people, and a fair few travellers from what we have seen, which will only increase in the next few years. Wherever you decide to explore, there are towns equipped with what you need, and people to ask questions to if you get stuck.
With so many quaint regions to explore, don’t forget to enjoy the process of picking which ones suit your travels best! To help with the process, check out our guides for the places we travelled to, including places like Sirgiriya, Ella, Yala National Park, Hiritketiya, Ahangama and more.
Stay tuned for comprehensive guides to more of these Sri Lankan cities and towns as they get published.
Sign up below and be the first to be notified!